

I built both the rear deck and the sunroom for our home. We’ve lived here almost 40 years, and the step from the deck down to the sunroom entrance was never a problem.
But that is changing.
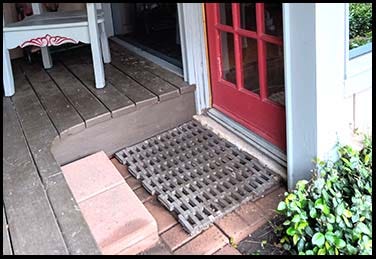
There is nothing to hold on to while stepping down from the deck, and that has become an issue. I had already decided to make a handle to hold while stepping down. An image of the step appears below.
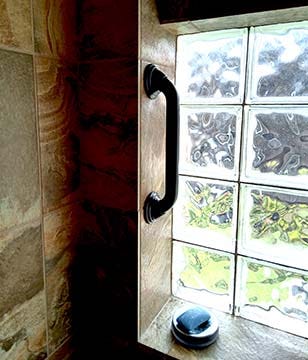
I had already installed handles in our showers, but those are fairly ugly, and I didn’t want anything like that near the entrance to the sunroom.
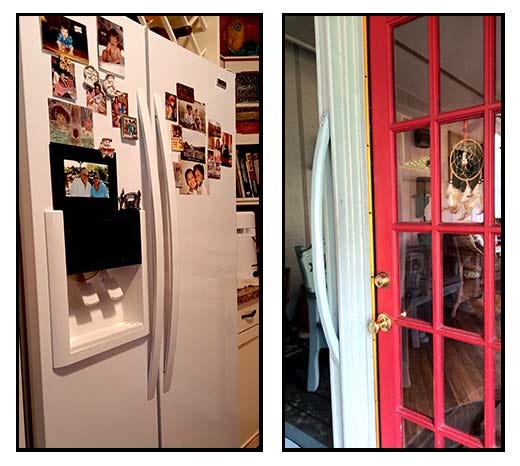
Then I noticed the handles on our refrigerator and freezer doors and realized that was the perfect design for a wood handle next to the sunroom door.
As a woodworker, I often have pieces of wood in storage or leaning against the back wall of my tool room. Luckily, I had a nice piece of 2-inch by 4-inch pressure-treated wood that would be perfect for this project.
I measured the refrigerator handle and it was 36 inches long. I decided to match that size.
I started by cutting the 2 × 4 to 36 inches. Then I used a square to make cross marks every 3 inches along the entire length.
The next step was to draw the curve. I did this carefully with a pencil so I could make adjustments as needed.
I began at one end, gradually drawing the curve from the bottom up to the center 18-inch mark at the top. Then I measured each of the 3-inch marks on the right half and transferred those same measurements to the left side to create a matching curve.
This ensured both sides were identical.
Finally, I marked the thickness of the handle at each 3-inch point, using the 1⅛-inch size I had selected. At that point, the handle was fully laid out and ready to cut.
As a longtime woodworker, I used my band saw to cut the shape, but this could also be done with a good sabre saw.
Once the cutting was complete, I sanded all surfaces in preparation for routing the edges. I used a ½-inch carbide-tipped round-over bit on all four edges.
It’s important to clamp the work securely before routing to ensure safety.
After routing, a final light sanding prepared the surface for paint. I applied two coats of the same blue-gray color used on the sunroom framing so the handle would blend in naturally.
Once the paint dried, I installed the handle.
I drilled two 3/16-inch holes and used a countersink so the screw heads would sit below the surface. After installation, I covered them with wood putty and touched up the paint.
The photo below shows the finished handle next to the refrigerator handle that inspired it.
Safety is not something we think about much. At least not until we have to.
In this case, a simple handle made all the difference.